Acrylic Injection Molding: An Informative Guide to PMMA
If you need clear, strong plastic parts that look good and last long, acrylic injection molding is a reliable way to make them. It produces parts that are lightweight, glossy, and resistant to sunlight and impact.
In this guide, you’ll learn what acrylic injection molding is, how the injection molding machine works, how it turns PMMA into finished parts, and why it’s trusted for making high-quality, precise plastic parts.
What is Acrylic Injection Molding?
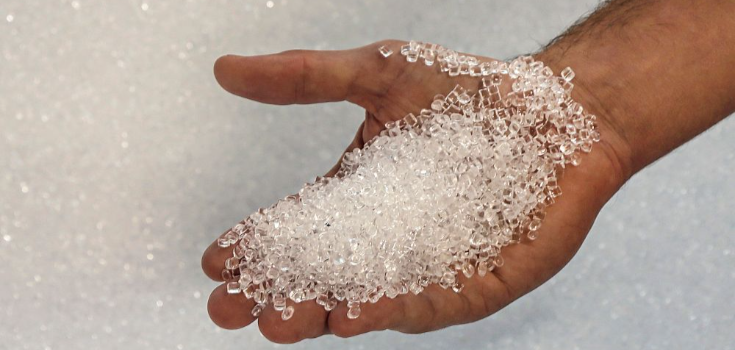
Acrylic injection molding is a way to make plastic parts using acrylic, also known as PMMA or Polymethyl Methacrylate. You start by heating acrylic resin until it melts into a thick liquid. Then, an acrylic injection molding machine pushes the melted material into a mold under high pressure. After it cools and hardens, the part takes the exact shape of the mold.
This process helps you create strong, detailed parts that look clean and clear. It works well when you need many parts that are all the same size and shape.
Why Choose Acrylic?
There are many reasons why you might choose acrylic injection molding. Below are some of the advantages of acrylic injection molding:
- It will not turn yellow or break down while it’s in the sun or outside
- It will not break as easily because it’s stronger than glass when it comes to impact.
- Acrylic is easier to carry and move around because it’s lighter than glass.
- It usually costs less than glass and other clear materials, which helps you save money.
- You can cut, shape, and mold acrylic easily, which gives you greater freedom while designing your parts.
- You can easily add color, texture, or coatings to match your design needs.
- It uses lower processing temperatures, which saves energy and cuts down costs.
- It keeps its shape and size well, even when making large numbers of parts.
- It is resistant to many chemicals, making it suitable for industrial uses.
- It’s very clear, with light transmittance ranging from 91% to 93%, perfect for see-through parts.
- It’s 100% recyclable, making it more eco-friendly than glass.
Acrylic Material Properties
Here are the important properties of acrylic:
| Tipo | Valor |
| Densidade | 1.13 to 1.19 grams per cm³ |
| Shrinkage Rate | 0.4% to 0.61% |
| Dureza Rockwell | 71 to 102 R |
| Resistência à tração | 6,390 to 10,700 PSI |
| Alongamento na rutura | 3% to 12% |
| Módulo de flexão | 247,000 to 509,000 PSI |
| Resistência à flexão | 6,770 to 18,900 PSI |
| Resistência ao impacto | 1.0 to 1.2 kJ/m² |
| Heat Deflection Temp | 85°C to 95°C before it bends |
| Condutividade térmica | About 0.19 W/m K |
| Absorção de água | Around 0.3% to 0.5% |
| Drying Temperature | 75°C to 91°C |
| Drying Time | 3.4 to 5.1 hours |
| Melt Temperature | 225°C to 272°C |
| Mold Temperature | 59.4°C to 81.1°C |
The Process of Acrylic Injection Molding: Step-by-Step
Here’s how acrylic injection molding works, step by step:
Step 1: Prepare the Material
You start by drying the acrylic pellets for moldagem por injeção. This removes any moisture, which helps prevent bubbles or defects in the final part.
Step 2: Melt and Inject
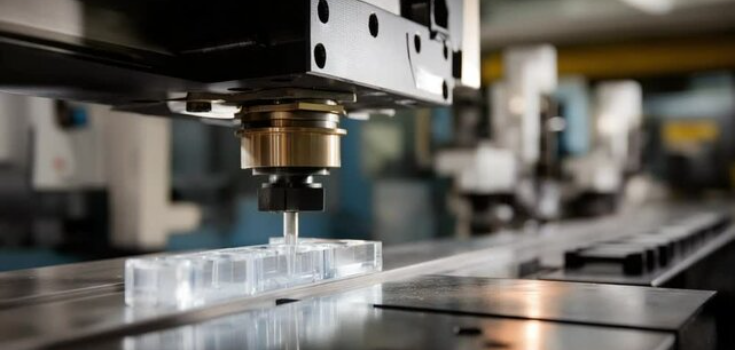
You feed the dry pellets into the acrylic injection molding machine. The machine heats the pellets until they melt, then injects the molten acrílico into a mold under high pressure.
Step 3: Cool the Mold
Once the mold is filled, the acrylic cools down quickly and hardens into shape.
Step 4: Remove and Finish the Part
After cooling, the mold opens, and you remove the part. You may need to trim, polish, or paint it to get the final look you want.
Design Guidelines for Acrylic Injection Molding
When you’re working with acrylic injection molding, there are a few important design rules to follow. These help you avoid problems and make sure your parts come out clean and accurate.
Espessura da parede
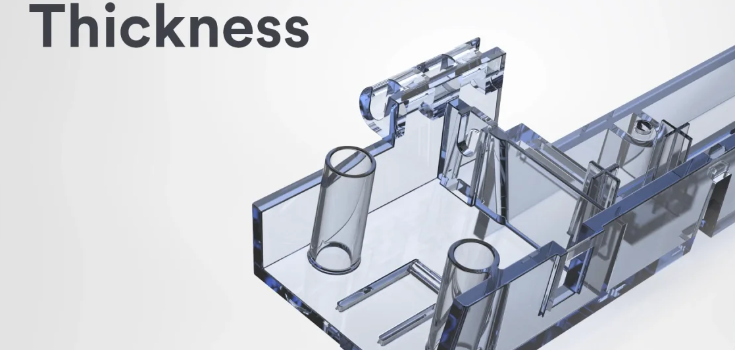
Keep the wall thickness between 0.025" and 0.150" (0.635 to 3.81 mm). Try to keep the thickness the same throughout the part. If the walls are uneven, the part may warp or crack.
Corners and Radii
Don’t use sharp corners. Instead, round them off. A good rule is to use a radius that is at least 25% of the wall thickness. For stronger parts, aim for 60%. This helps the acrylic flow better and reduces stress in the part.
Draft Angles
Add a draft angle of 0.5° to 1° on vertical walls. This makes it easier to remove the part from the mold. If you’re making clear parts, you may need a larger angle for a smooth finish.
Tolerâncias
For regular parts under 160 mm, you can expect tolerances between 0.1 mm and 0.325 mm.
For more precise parts under 100 mm, tolerances can be between 0.045 mm and 0.145 mm.
Processing Tips for Better Results

Here are some tips you can use when injection molding acrylic:
- Acrylic absorbs moisture, which can cause cloudiness or defects. Dry your acrylic pellets for injection molding for 3.4 to 5.1 hours before using them.
- Set the right acrylic injection molding temperature, not too high or too low. Too much heat can break down the material, causing burn marks. Too little heat won’t let it flow properly into the mold.
- Acrylic needs more pressure because it’s thicker when melted. Use just enough to fill the mold.
- Too much pressure can cause the part to stick; too little may lead to incomplete parts.
- Use a moderate injection speed. Going too fast can cause burn marks or a rough surface. Too slow, and the mold might not fill completely.
- Acrylic shrinks by 0.4% to 0.61% when it cools. Plan for this in your mold design. Shrinkage can change based on pressure, acrylic injection molding temperature, and how long you can hold the pressure.
Applications of Acrylic Injection Molding

You’ll find acrylic injection molded parts in many everyday and industrial products, like the following:
- Lentes ópticas
- Display panels
- Light covers
- Automotive tail lights
- Protective covers
- Medical device casings
- Signage and retail displays
- Aquariums
- Phone cases
- Recipientes para cosméticos
- Luminárias
- Glass replacement panels
DEK’s High-Quality Acrylic Injection Molding Services
At DEK, we provide clear, strong, and precise acrylic parts using advanced acrylic injection molding. We use the best acrylic pellets for injection molding and skilled processes to ensure your parts look great and work well.
Contactar-nos today if you want reliable, high-quality acrylic injection molded parts made efficiently to meet your project needs.
Conclusão
To wrap it up, acrylic injection molding is a great way for you to make clear, strong, and detailed plastic parts that last long. This process saves energy, resists chemicals, and is recyclable. You heat acrylic and shape it in a mold to get parts that are light and durable. By following the right steps and design rules, you’ll get parts that look great and perform well.
FAQs
What temperature is acrylic molding?
Acrylic molding typically happens between 160°C and 210°C, depending on the specific grade of PMMA.
Can acrylic injection molded parts be customized with colors or textures?
Yes. You can customize acrylic injection molded parts with different colors, textures, and surface finishes to match your design.
How does acrylic injection molding differ from other plastic molding processes?
Acrylic injection molding is different from other plastic molding processes because it focuses on producing clear, strong parts with high precision, using specific temperatures and drying steps to prevent defects.
